
This article covers the second and improved version of the Round Editor and its main functionalities.
Important: The Round Editor is primarily designed for modifications on already existing rounds.
Updates: along with cosmetic features, we made a few changes designed to add extra flexibility for the user.
Now, round details are selectable using the checkboxes available, as seen in the picture below:
Key features
Redesigned layout
The user interface has been redesigned for a more intuitive user experience.
Resizable panels
From now on the different sections inside the Round Editor are free to resize as the user wishes.
Dense View toggle
You can switch to a compact, information-dense display for efficient task management. This option will effectively zoom out and allow you to see more information in one glance.
New Round Edit Dialog & Color Selection
A pop-up appears when creating a new round, to facilitate renaming the round and choosing a hub or a flow. You can also modify a Round’s color to easily differentiate between rounds.
Improved inactivity handling
A warning message will replace forced reloads. It is up to the user to discard his changes (Discard button on the top right of the screen) if deemed necessary, providing him with more control.
Left Panel - Round List
On the left side, you can find a list of all your hubs with existing rounds if there are some. Tasks that are not yet assigned to a round are displayed as orphans.
Enhanced driver selection
When choosing a driver to assign to a round, you can view drivers' skills on the right side and use the search bar to find the proper driver quickly. If the round requires specific skills, only those drivers will be shown unless you select to “ignore constraints”.
Improved vehicle selection
When selecting a vehicle to assign to a round you can see the vehicle dimensions and labels. Matching dimensions or labels will be highlighted in green. You can also search by name for a specific vehicle.
Drag-and-drop round merging
You can now easily merge rounds with a simple drag-and-drop action. This will effectively move all tasks from the source round to the target round and mark the source round ready to be deleted.
Inline round details
In the round details view, you can now directly view the fill rate, the number of stops (distinct locations), and round-specific metadata even before saving the round.
Also, by clicking on the expansion icon , you can open the Round Detail sidebar to view more information about the round.
Right Panel - List Mode
On the right side, you can see tasks and their details, either displayed as a list or on a map. You can change between the two display modes in the upper right corner.
Show items in the list view
You can now toggle on the “items” checkbox to show items in the task list.
Improved task selection
The updated Round Editor app introduces new task selection functionalities within the right panel's list mode. Users can now:
- use the SHIFT key for selecting multiple tasks simultaneously
- use Ctrl-A to select all tasks in the list
- press Esc to deselect any selected tasks
- double-click on a task for quick actions
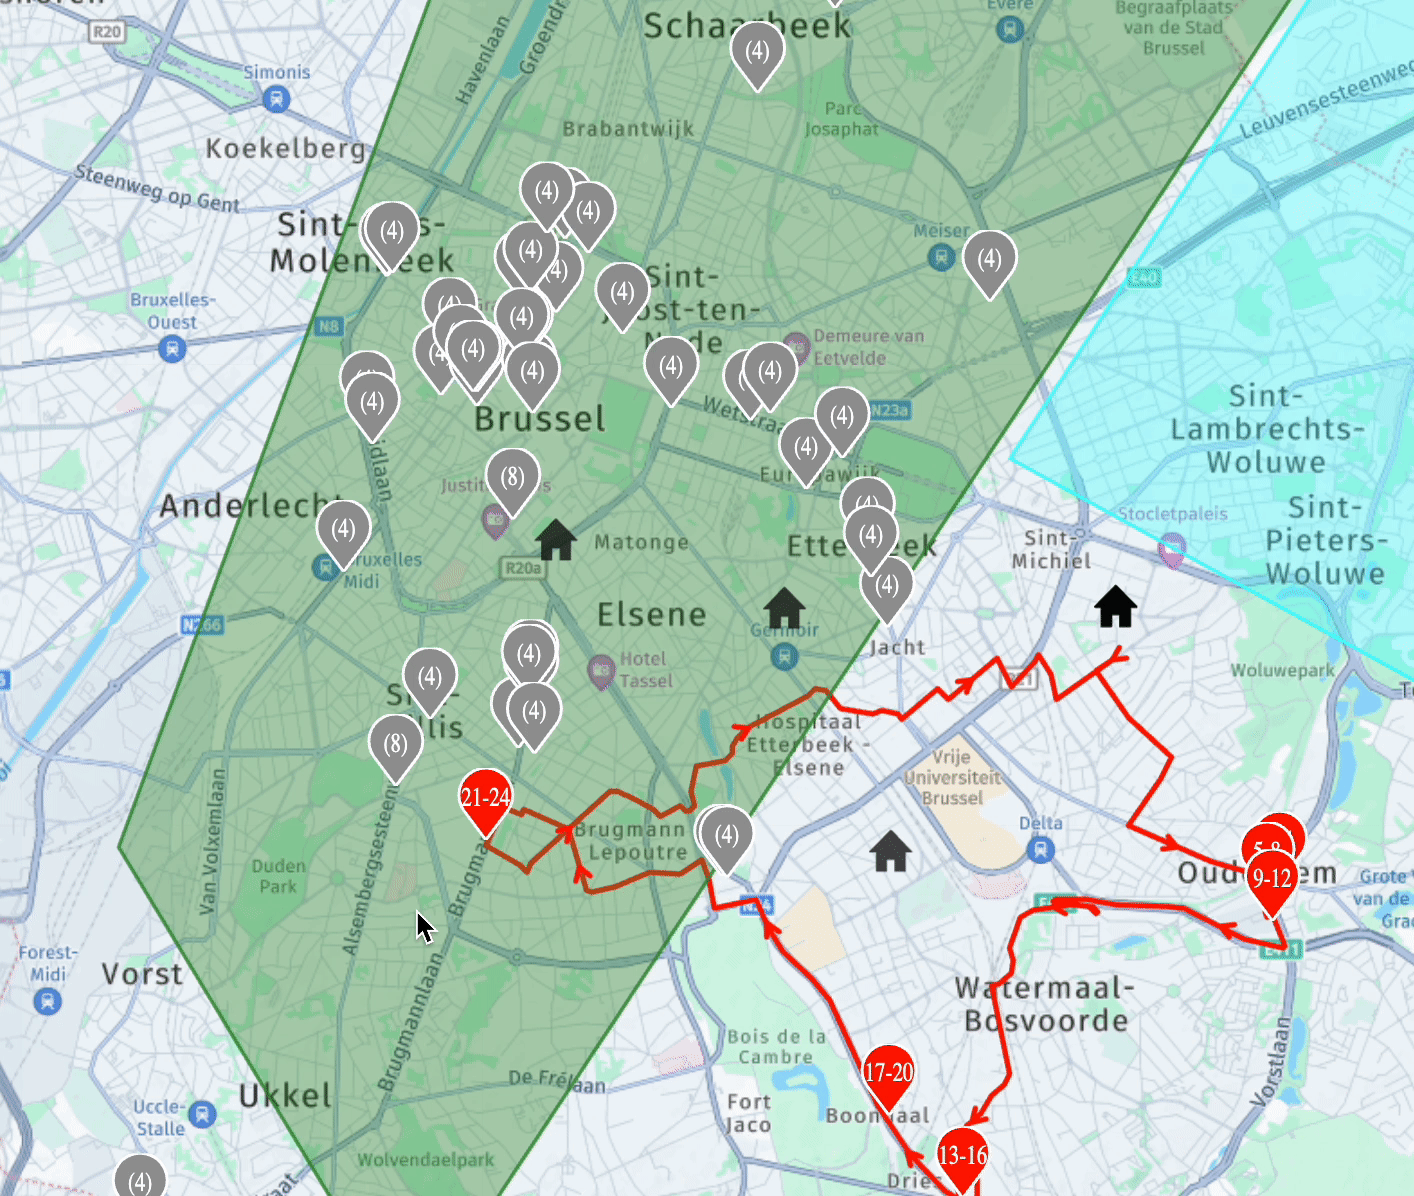
Right Panel - Map Mode
Round details bar & Enhanced round visibility
The round details toolbar is always visible for quick reference and edition, be it in list mode or map mode. The selected round now appears with a thicker line on the map.
Hub-based round selection
You can now display all rounds of a hub on the map with one single click.
Interactive zone display
You can now display the zones associated with a Hub. You can then select tasks within a Zone by clicking on it.
Category icons
You can now choose to view categories on the markers, which allows you to easily identify task categories with first task pin icons. Furthermore, you can select tasks by categories as well.
Pickup and delivery distinction
You can now visually differentiate between pickup and delivery tasks as shown below. The orphan pickup task is shown in dark grey.
Priority information
Task tooltips now display priority levels if any priority has been defined.
Advanced task selection
You can now select markers by type, time window, labels, or category. Additional selection criteria may be added in the future.
Advanced view options
You can now choose to view Orphans, Zones, or Categories as seen below:
Round Editor general usage
Managing tasks and rounds
- List view
- To create a round: Click on the + sign next to the hub in which you want to create a round. Don't forget to add a driver and a vehicle.
- To add tasks to a round: select the tasks you want to add to a round and drag and drop them into the round on the left side.
- To modify a task: select the needed task and then press the Edit button.
2. Map view
- To create a round: use the rectangle or polygon selection tool the highlight multiple tasks. Once they're highlighted (white), click the Assign option to allocate them to a round.
- To add a task to a round: select the hand tool and drag a task inside an existing round.
How to modify existing rounds?
As shared above, you can work in two modes within the Round Editor: list mode and map mode. Once your rounds are created or the changes are complete, click “Save” at the top of the screen.
An optimization will be launched per round, incorporating the changes you made.
If you see the message “a partial solution has been generated”, it means that some tasks couldn’t be included in the round due to constraint violations (maximum weight, time window, distance, working time, etc.). Such tasks will remain orphans.
Optimize sequence (O.S.)
If you prefer to bypass optimization and keep your manual task order, you can disable the “O.S.” toggle. In this case, your sequence will be kept as-is even if it's not the most optimal sequence and then only the routing between tasks will be calculated.
Ignore Constraints (I.C. / Free Mode)
If you don't want the system to ignore any constraint defined on your platform (max. weight per vehicle, max. tasks per vehicle, time windows, max. vehicle distance, work time, etc.), you can activate the toggle "Do not apply constraints". Rounds will be created with exactly the tasks you want in them.
Be aware that you need to be certain that such a round is feasible when you choose this option since the system won't make any checks on any constraint. Note that this option needs to be activated for your platform by your CSM or Support.
Points of caution
❗️Round Editor changes should be made by a single user at the time and through a single tab open in the browser to avoid sync-related issues.
❗️Never manipulate rounds via the Round Editor while the tasks are being optimized. This will lead to various problems with the rounds and tasks.
For any questions on the functionalities above please reach out to your Customer Success Manager, respectively to the Support team.
Comments
0 comments
Please sign in to leave a comment.